I recently realised that I have not shared the progress on our second barn renovation in Provence (except on instagram). This is most likely because progress has been so slow and we’ve only been working on this building as and when we had a bit of money. All previous resources were put into our first barn renovation, which is now La Picholine, our finished vacation rental.
Are you confused? If so, I don’t blame you!
A Reno Recap
In 2019 we bought a property in Mollégès, Provence. The property has 2 barns, both were untouched with a roof, 4 walls and that’s about it (oh, and lots of horse hair, hay, and other treasures). There’s also a main house that is not as old as the 250 year old barns. Previously, we had renovated a tiny historic house in Maussane-les-Alpilles in the space of 9 months. You may have caught us on a re-run of Househunters International. The episode was called “Pricey in Provence” (S99.E11).
DIY Reno in Provence
Because we love restoring using traditional techniques and reclaimed materials, the process is painstakingly slow as well as expensive. To keep the costs down, Robin is doing most of the work himself; another reason for the lengthy process. Thankfully, he’s been working on worksites for many years as a licensed plumber. He now works as a project manager here in Provence.
Priorities First
The main house has still not been touched (allow me to shed a tear for our faulty electrics, no heat or air conditioning, peeling paint and mold). It looks just the same as when we bought it except for the fact that the roof is now REALLY falling down.
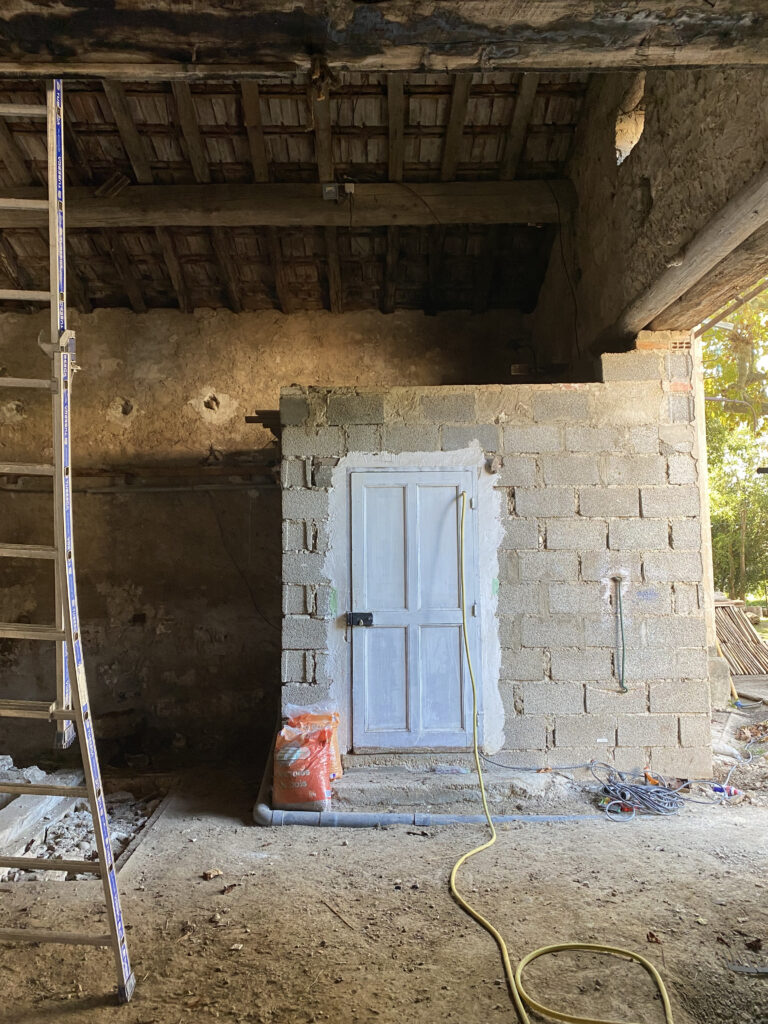
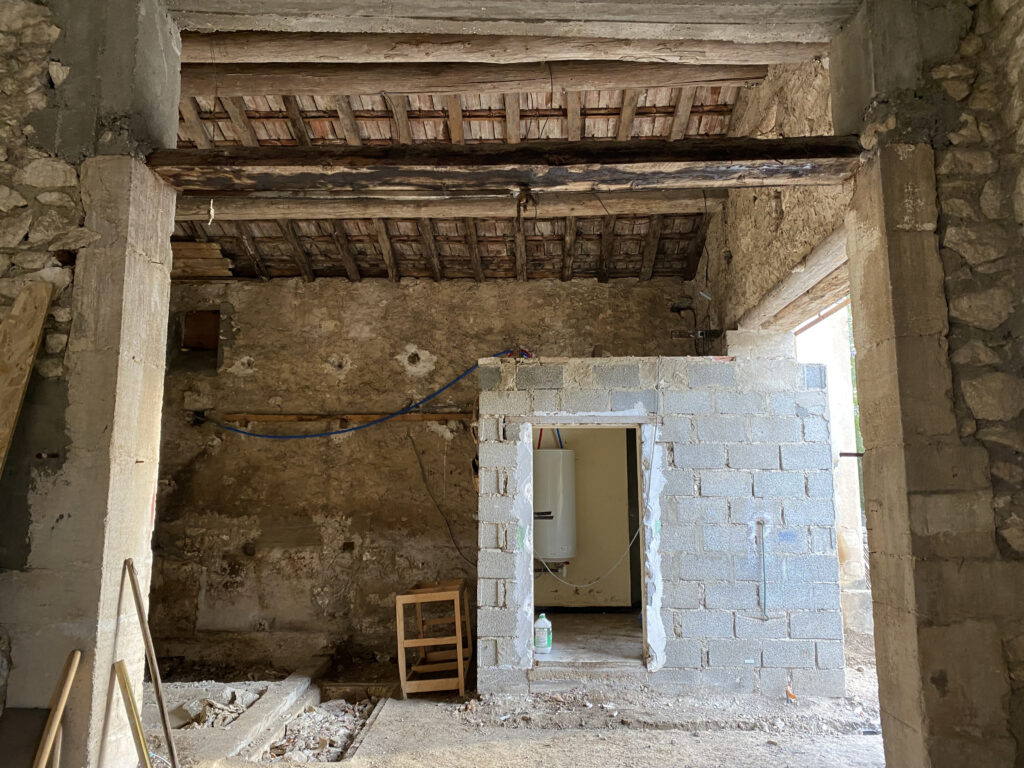
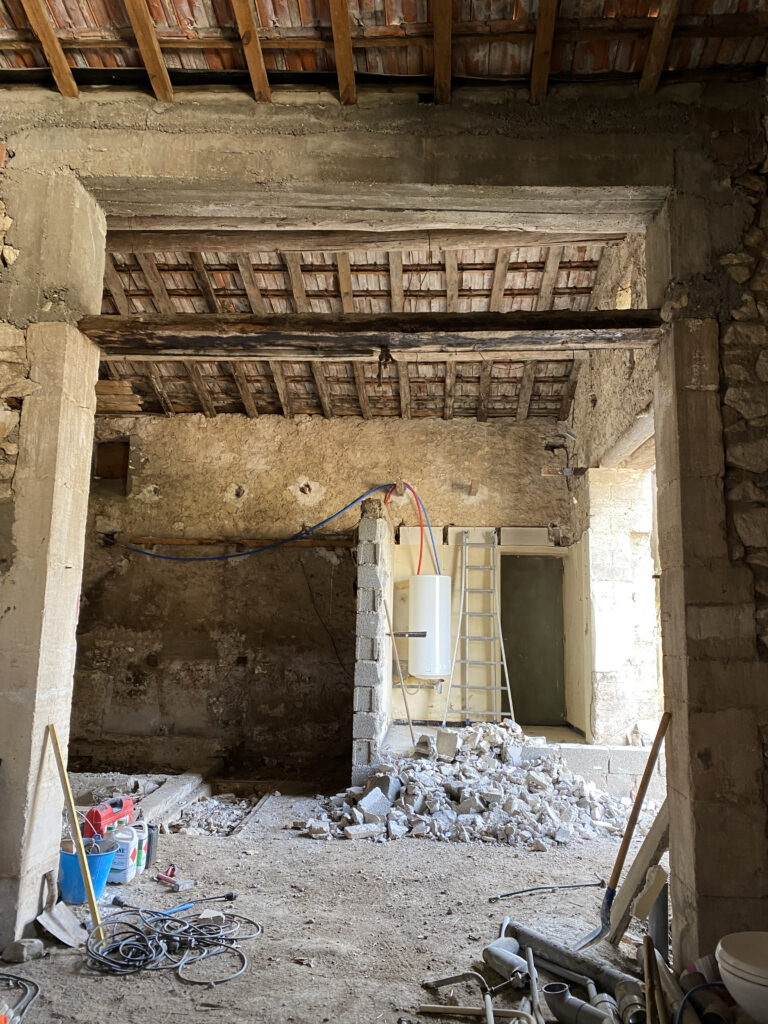
As I mentioned, all our resources went into our lovely vacation rental. In between, we would work on this second barn here that you can see is attached to the main house. Originally, this was supposed to be our large (dream) kitchen and living area. However, with the success of my Provence oil paintings over the last few years, it has morphed into my atelier, or artist studio. Robin has still put in all the plumbing and electric for a kitchen… just in case. Last year, we had an enormous push to get the openings, windows, floor, and electrics installed so that I can use it to welcome guests to see my work. The following photos are all the stages before 2024.
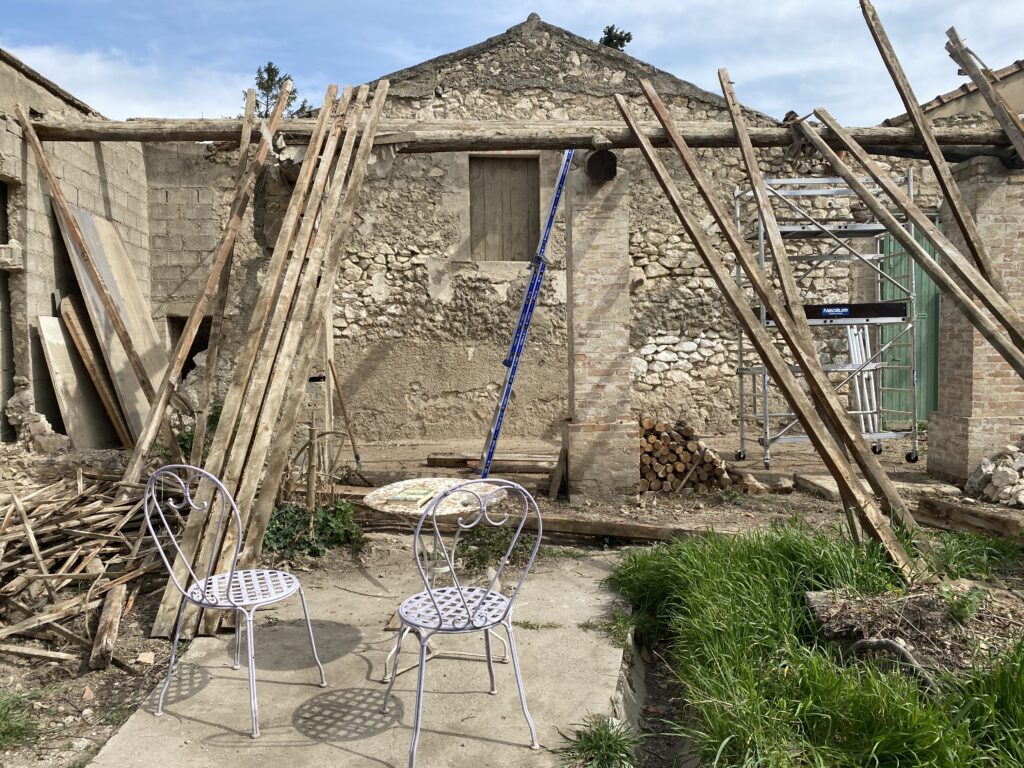
2020
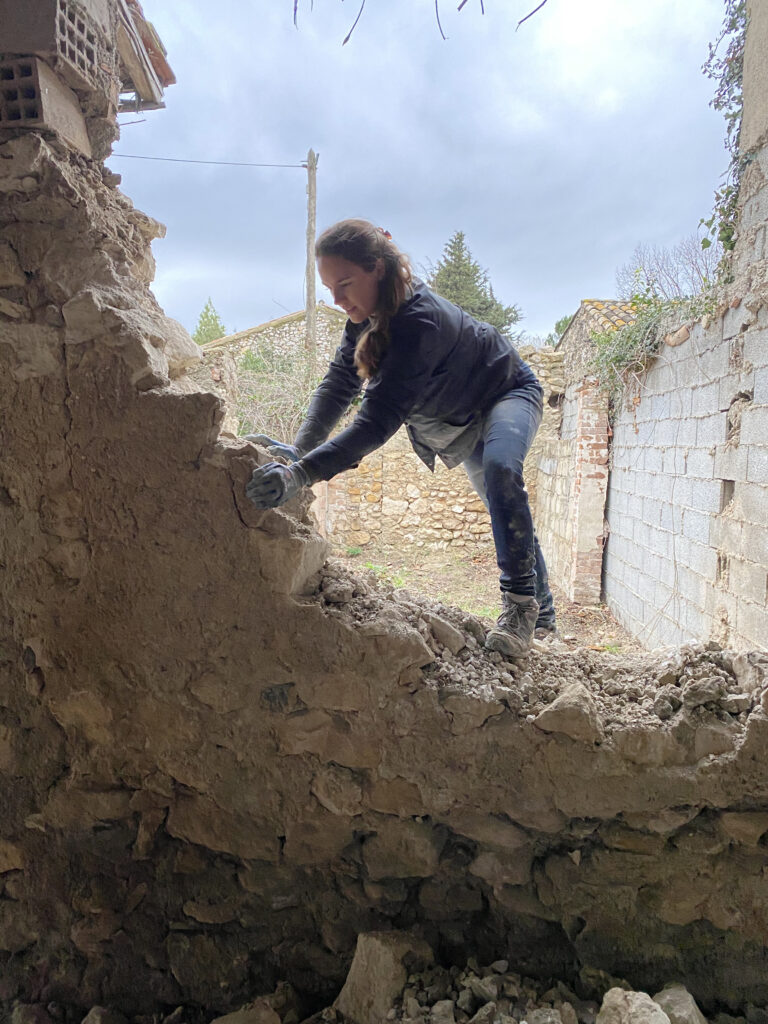
In 2020, we found ourselves in a strict lockdown with dwindling economic prospects. However, the sun was shining and we could easily find things to do. The first task we tackled was to sort through the piles of junk left in this barn, as well as tearing down the auvent that was badly built. To the left of this building there used to be several small dwellings. There were remnants of walls that we pulled down with our hands as the mortar was composed of mud and horse hair. We kept the stone for future projects and have been living with piles of stones as well as river rock (galets- this area used to be marshland) in the garden ever since.
On a Tight Budget
There were also concrete foundations in the garden and next to this building where hunting dog kennels and a chicken shed were kept. Robin broke up the concrete with a large hammer. We didn’t even want to spend money on renting tools with the Covid situation being so uncertain.
I can’t believe it, but we don’t have a photo of the front of this building from when we bought the house. See the auvent (awning/car port- no good word for this in English) below.



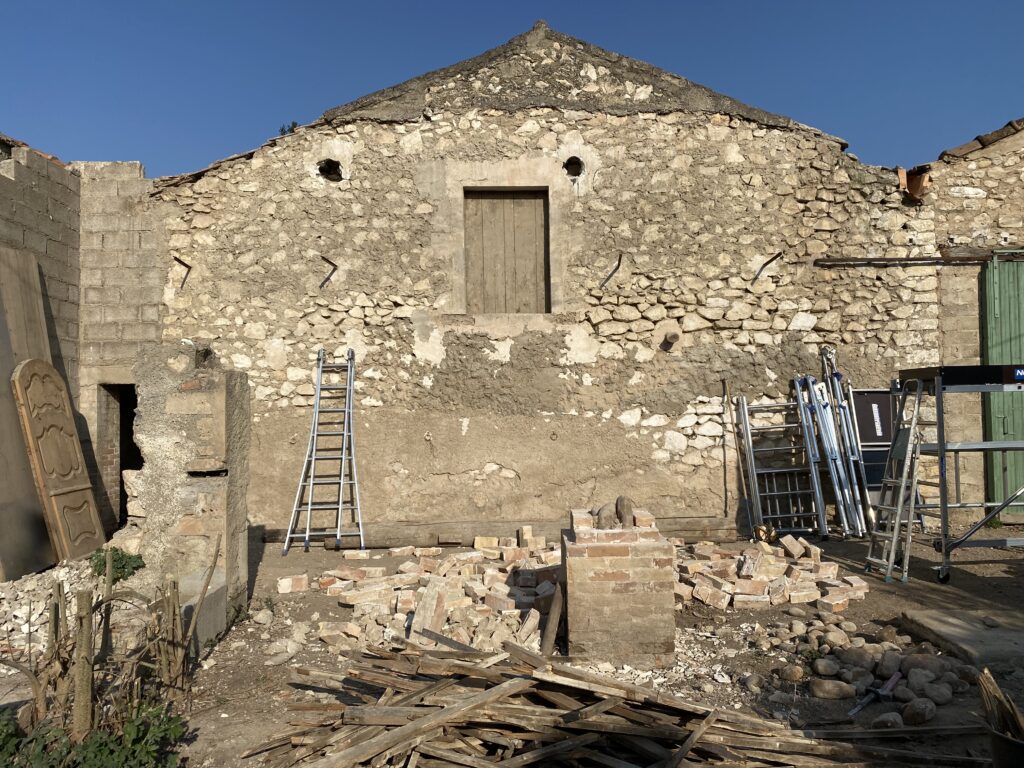


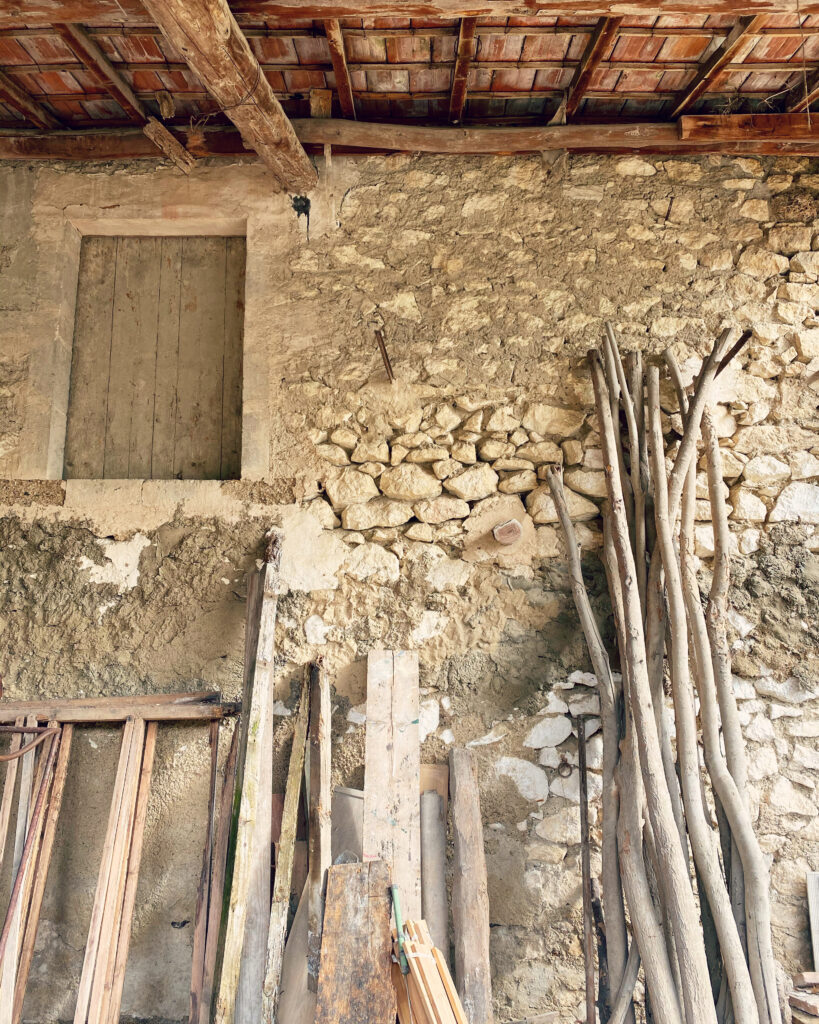
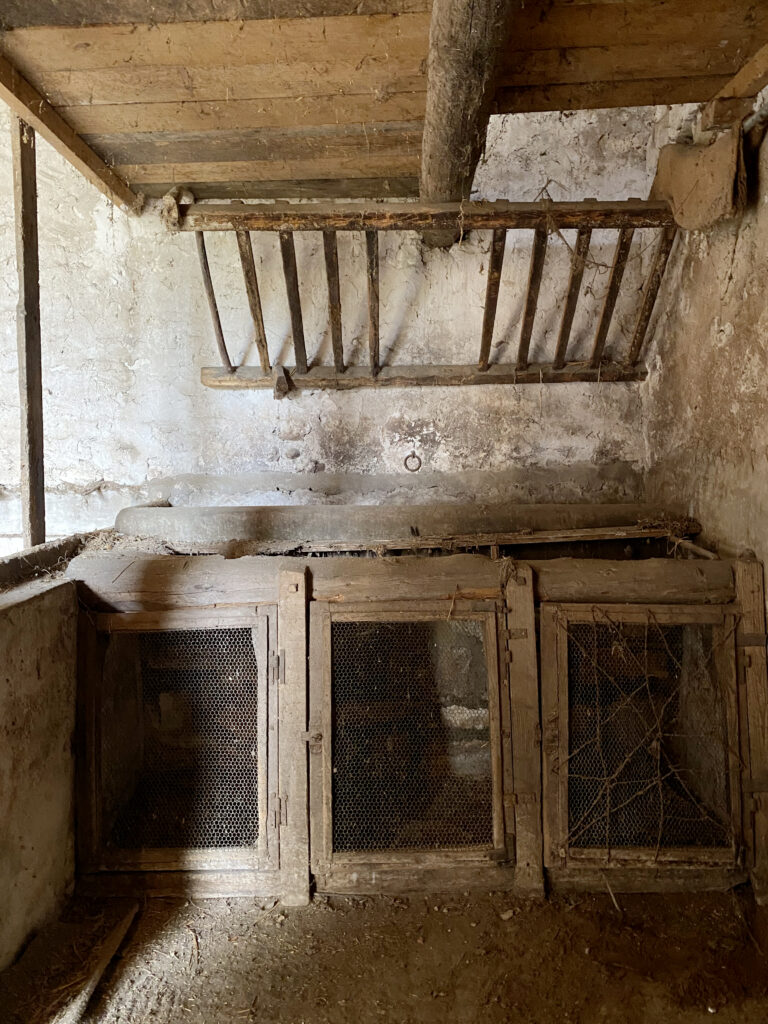
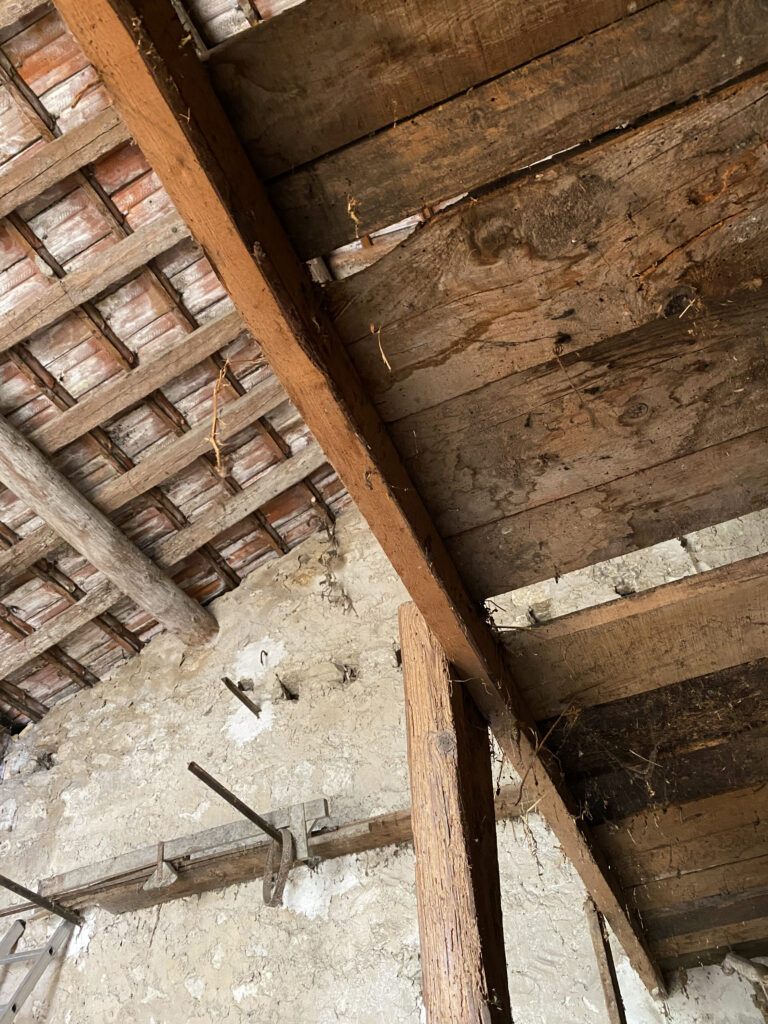
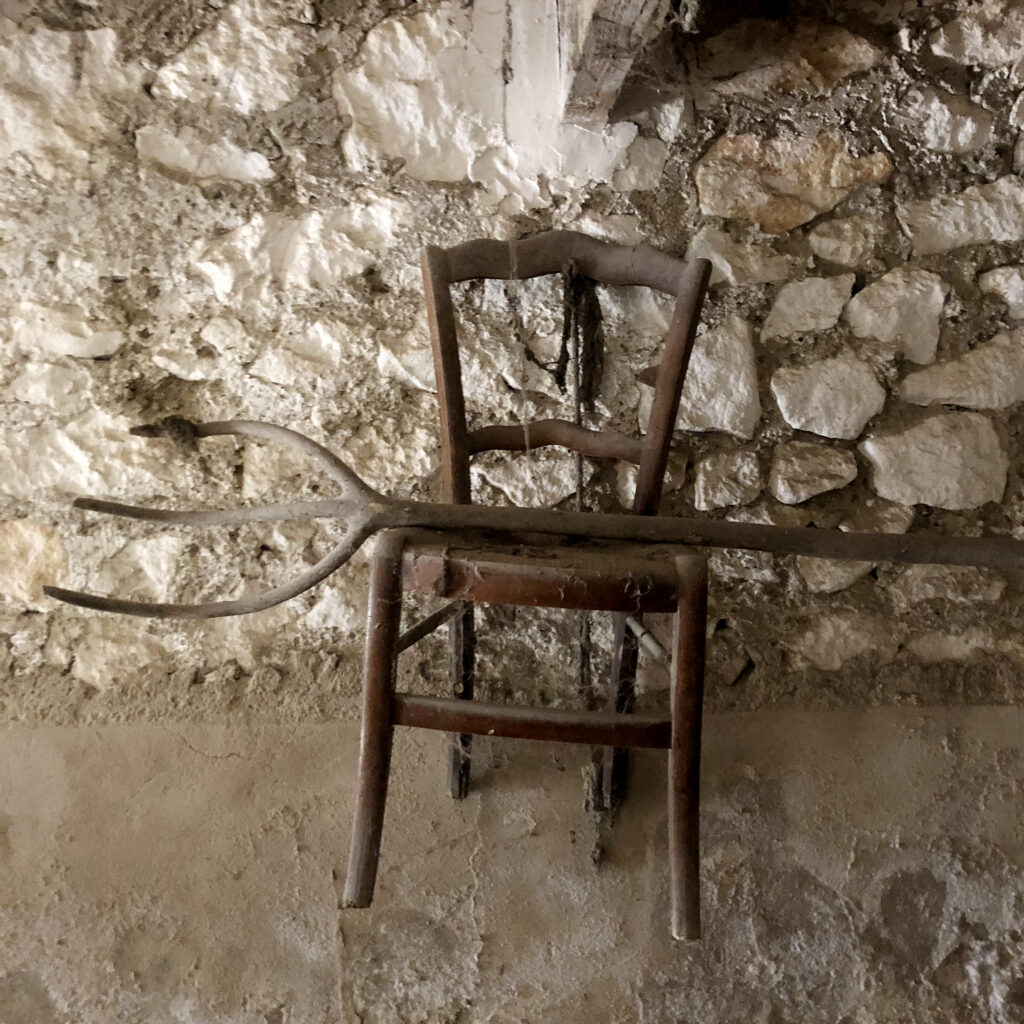
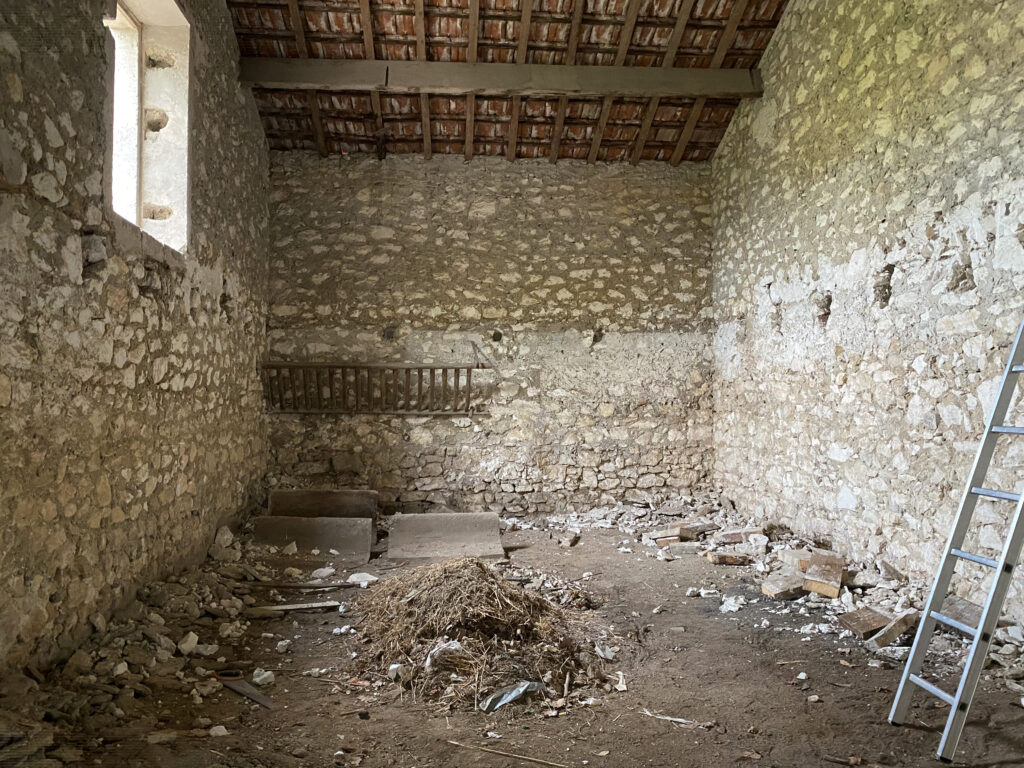
There was a feeble second floor on one side of the barn that was used to store hay, as well as sadly family photographs, letters, rabbit hutches, hunting equipment, rusted tin cans, and more. The first thing we did was drive about a thousand times to the déchetterie (dump) where Robin became friendly with the workers (out of necessity).
You can see the roof tiles directly on the roof here that are from the 1960s when the roof was last redone. The building is from the late 1770s and we wanted to redo the roof to reflect what it would have originally have been (antique roof tiles).

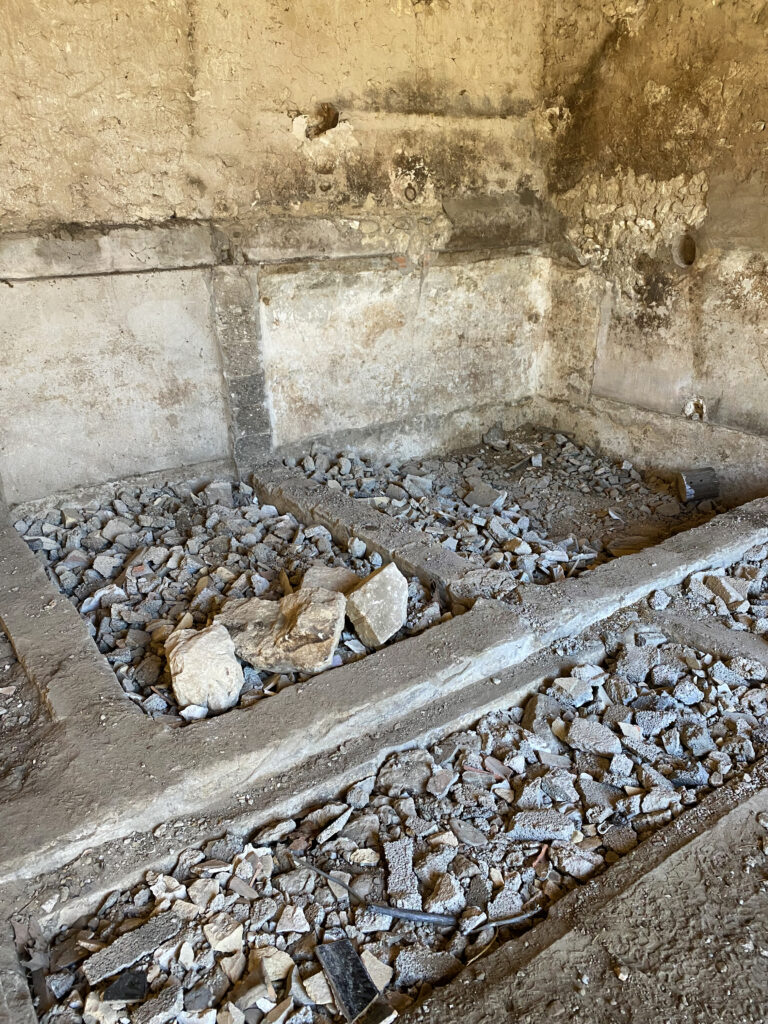
The roof, as all of the roofs on the property, was not watertight. One of the first thankless tasks was digging out the stone wine cuves in the floor that were full of rubble but also water. Then, re-filling them back in once they’d dried.





Destroying the Bathroom
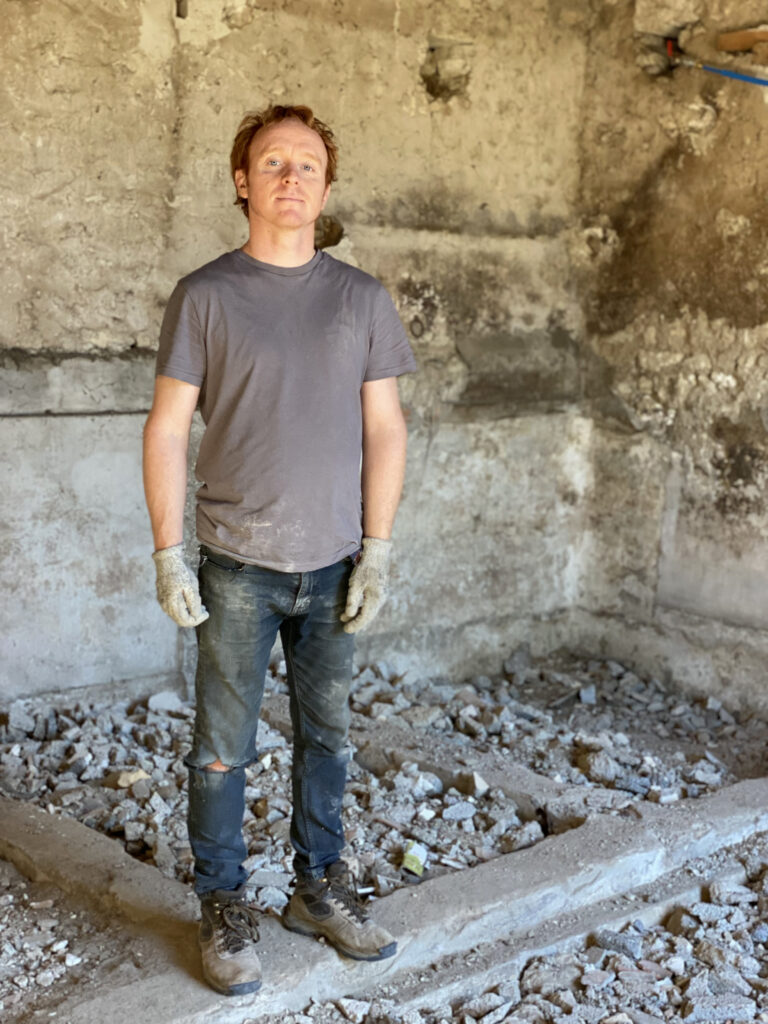
Below is a hastily made bathroom that was made later and connected onto the house. We wanted to start from scratch. That had to go too. Again, without power tools!






An Architect and Permissions
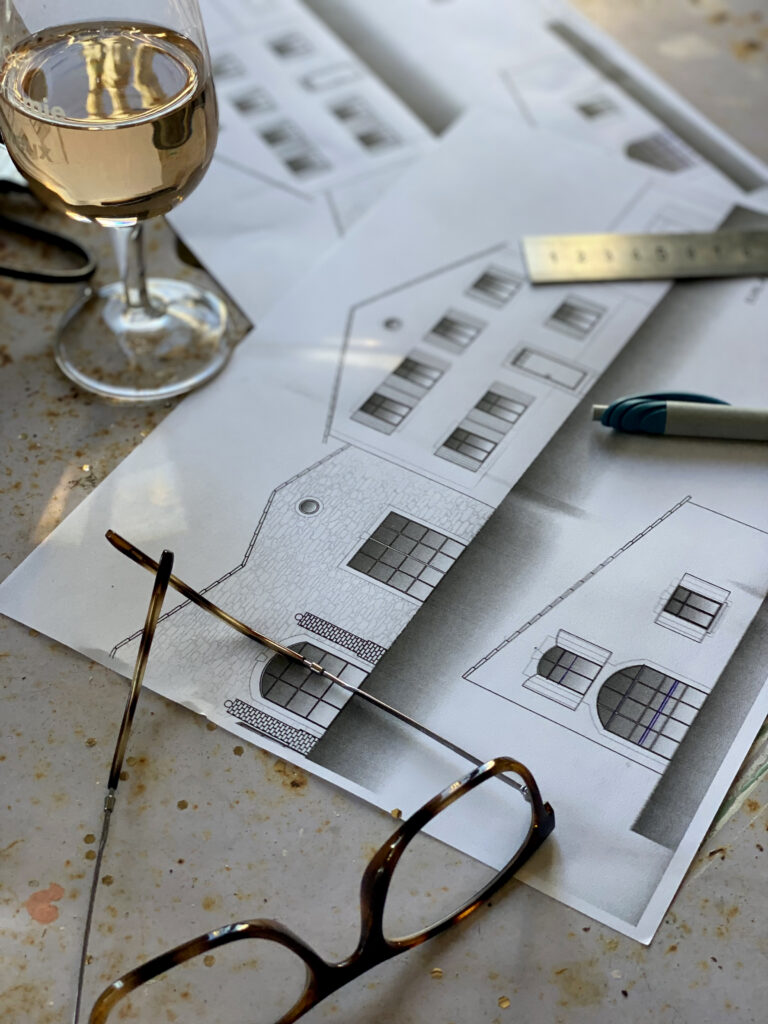
By law in France if your property is over 140 square meters you have to consult an architect. You also have to submit a demande d’un permis de construire (planning permission application) to the town hall to request changes to the property such as the changing of openings, the colour of shutters you’d like to have, the type of windows and if you’ll be increasing the inhabitable space of your property. We had the right to add 30% to the footprint of the property (as inhabitable space) by extending; but all we had to do was request a change of use for the 2 barns.

A New Roof
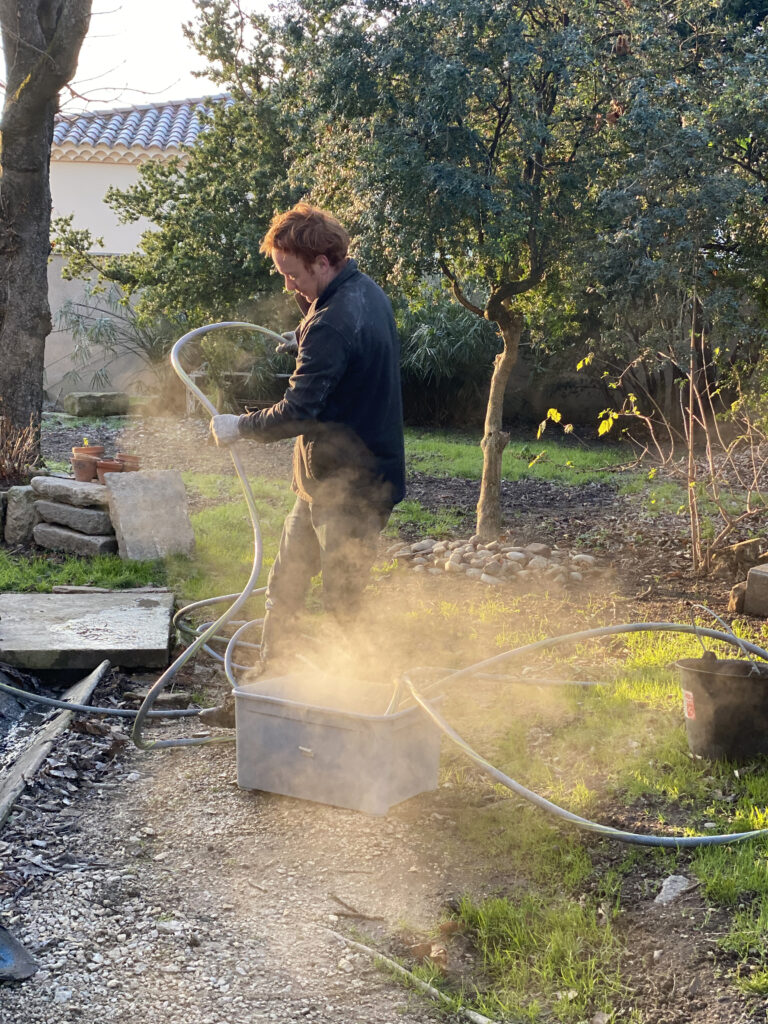
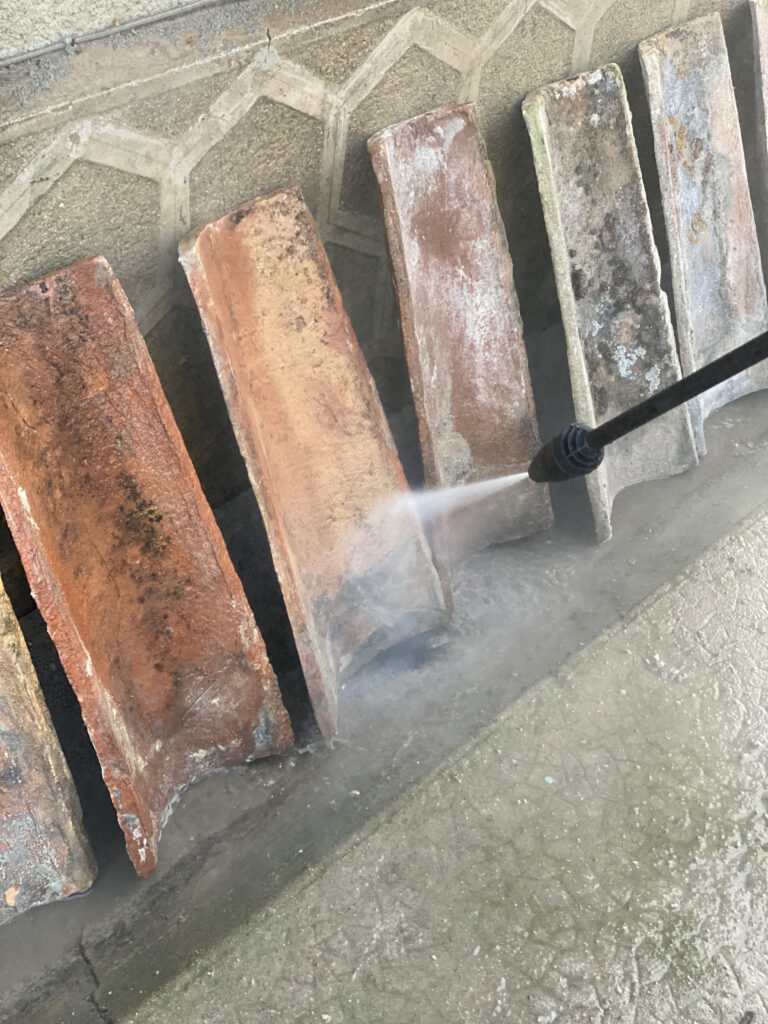
We could not do the roof ourselves but we did as much as possible ourselves to keep the price down. Robin removed all the old roof tiles himself. We bought roof tiles online and went to pick them up over several trips with Robin’s van. Moving these large tiles 2 by 2 was backbreaking. The roof was not done immediately so these tiles lived here in front of the house for some time. All of a sudden, in 2022, we had news that the roofers could fit us in. This meant that we had to start cleaning the tiles in freezing weather. Each tile had to be brushed and jet washed. One morning, the hose was frozen so you can see Robin thawing it..ha! Miserable!





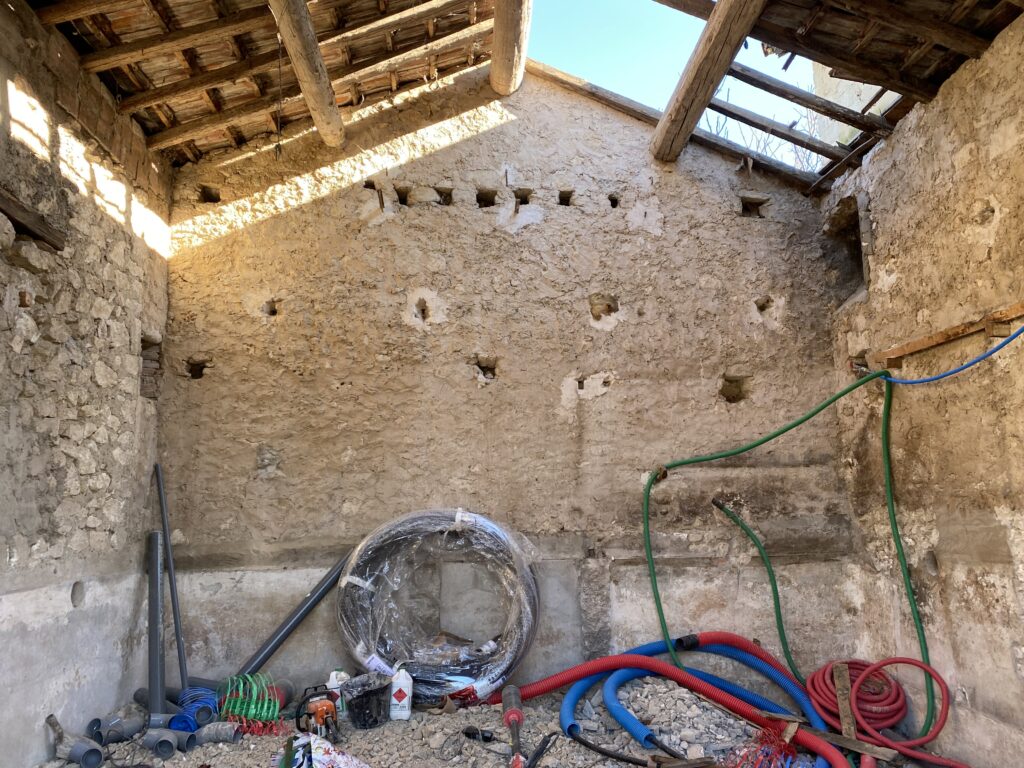
Layers of Roof and Insulation
Insulation is a priority in these old buildings if you’re able to start from the beginning. In La Picholine, our vacation rental, we chose to use a hemp insulation that was pricier than your usual fibreglass, but very effective, cleaner to work with and better for the environment.
For this roof, we chose to use PST panels (pre-fabricated moisture-resisitant sandwich boards) that include 15cm of extruded polystyrene insulation. These are more expensive but cost effective when you factor in insulating then installing a suspended (drywall/ plasterboard) ceiling.


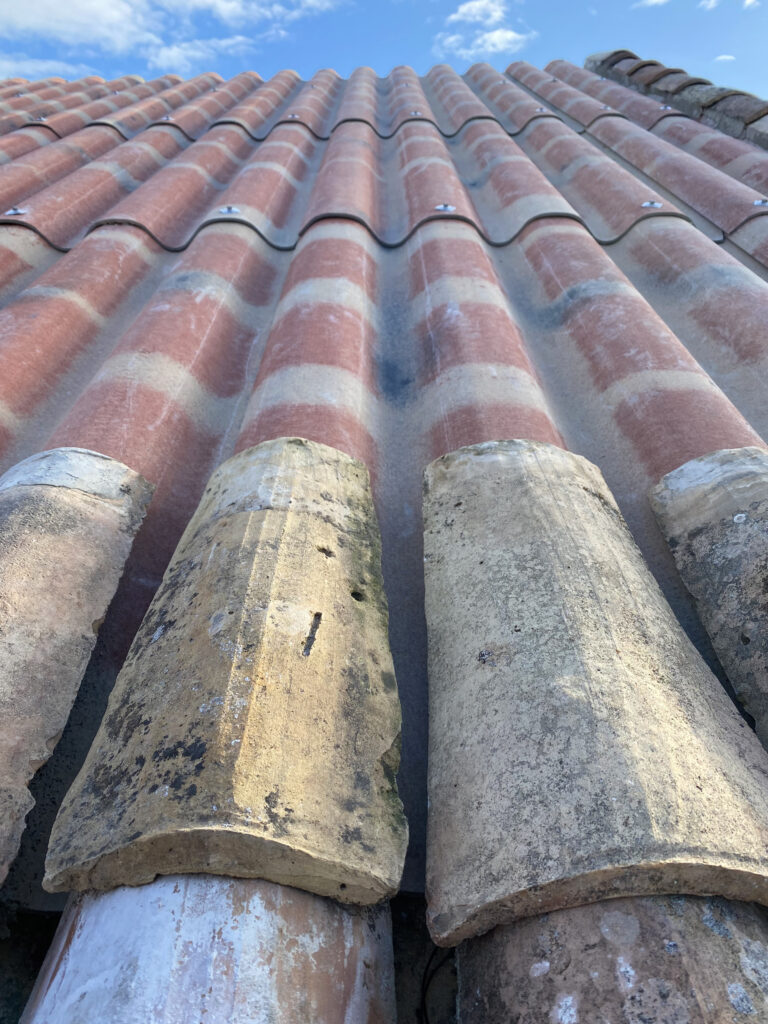


Roof Details
The roof was fitted with corrugated cement board then antique times are placed on top.
Antique Roof Tiles
The roof tiles we used were from reclaimed buildings and are about 200 years old. They vary in colour and even shape as it is said that they reflect the different thighs they were made on by various women.
La Génoise
Génoise is the detail overhang. We were able to keep the original genoise detail on one side of the building (pictured above). There are many versions of this type of detail.
Rive
We chose to do a double layer of tiles you see on the edges of the facade of the building.
Porte-chouette
If you look at the apex of the roof you’ll see a trident cut tile sticking out. This is a porte-chouette; many masons have their preferred design. Our trident was because of our approximity to the Camargue region. This detail is meant to bring you luck if an owl sits on it. Another traditional detail we wanted to incorporate.

Et voilà ! The roof is complete. Isn’t Sterling, our Austin Mini, handsome?
The barn will remain like this until 2024 when we had a big push to open the atelier to the public.
See the new stages of our renovation here: Barn Renovation in Provence Part 2.


Leave a Reply